Using GitHub actions for automatic PR labeling, release notes, and version bumping
Fri Sep 04 2020
ToolingGitHubAutomationMaintaining a repo, especially one with many contributors, can quickly become overwhelming and disorganized. Though we weren’t quite there, a repo I maintain at work was rapidly approaching that cliff so I made a small change to our tooling to strengthen our workflow, improve documentation and generally make our lives easier going forward as the project grows and more engineers inevitably join the project. Fortunately the changes are very easy to make. It should only take you 5-10 minutes.
To handle these problems, I added the following GitHub actions to our repo:
Prior to adding these actions, we were releasing manually and trying to organize PRs by naming conventions in the title. This has limitations for multiple reasons.
First, releasing manually is tedious and repetitive which means it should probably be automated.
Second, it’s prone to human error and laziness. I’ll be the first to admit I’ve written poor release notes because I was busy or distracted. Another reason to automate. This second point can also apply to version bumping. We loosely follow semantic versioning and probably bump versions inconsistently. At the end of the day, maybe this isn’t a huge deal. It’s really not for our project but, in the spirit of well-organized software, it’s something I wanted to nail down. That’s also another great feature of Release Drafter, you can automate version bumping based on PR labels.
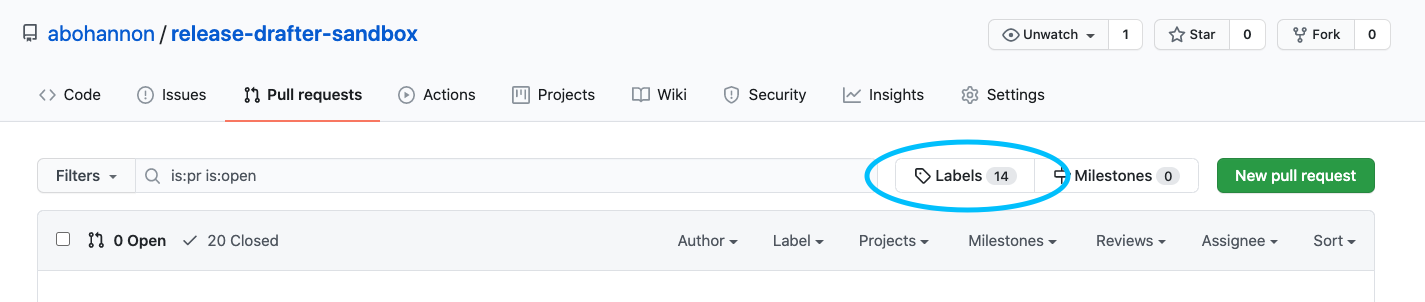
Third, relying on organizing PRs by manual naming conventions in the title suffers from these first two problems. It’s repetitive and not everyone remembers to do it the same way so it makes the PR view and logs messy. It’s also difficult at first glance to get a snapshot of what’s currently being worked on. With labels (and if you use different colors like we do), this becomes easier.
PR Labeler Setup
We’ll start with PR Labeler which automatically labels your PRs based on a config.
Create and checkout a branch called
feature/pr-labeler(this name will come in handy later)Create the folder
.githubin your project’s root directoryAdd a subfolder inside named
workflowsCreate a file named
pr-labeler.ymland paste the following config inside (checkout the repo if you have additional questions beyond these instructions)name: PR Labeler on: pull_request: types: [opened] jobs: pr-labeler: runs-on: ubuntu-latest steps: - uses: TimonVS/pr-labeler-action@v3 with: configuration-path: .github/pr-labeler.yml # optional, .github/pr-labeler.yml is the default value env: GITHUB_TOKEN: ${{ secrets.GITHUB_TOKEN }}In the
.githubroot directory (not insideworkflows) add another filed namedpr-labeler.ymland paste the following as a boiler plate.feature: ['feature/*', 'feat/*'] bugfix: ['fix/*', 'bugfix/*'] style: style/* documentation: docs/* performance: ['perf/*', 'performance/*'] refactor: refactor/* test: ['test/*', 'testing/*'] build: build/* improvement: improvement/* chore: chore/*This configuration is for our repo at work, but the syntax is
<label name>: <branch name>. The glob*at the end indicates that anything after the/should match.Feel free to change this according to your needs, but for the sake of this tutorial please keep
feature: ["feature/*", "feat/*"]Add PR labels in GitHub to match your config (if you don’t have them yet)
For the sake of this tutorial, if you don’t have a “feature” label, please create one.
](/images/pr-labeler-1.png)

Commit, push, and open a PR for your branch
Now GitHub will see the files you added in the
.githubdirectory, install the action, and run it. If you click on “Actions” in your repo’s top navigation, you can see the action working. This page will show a history of all your actions complete with logs if something goes wrong.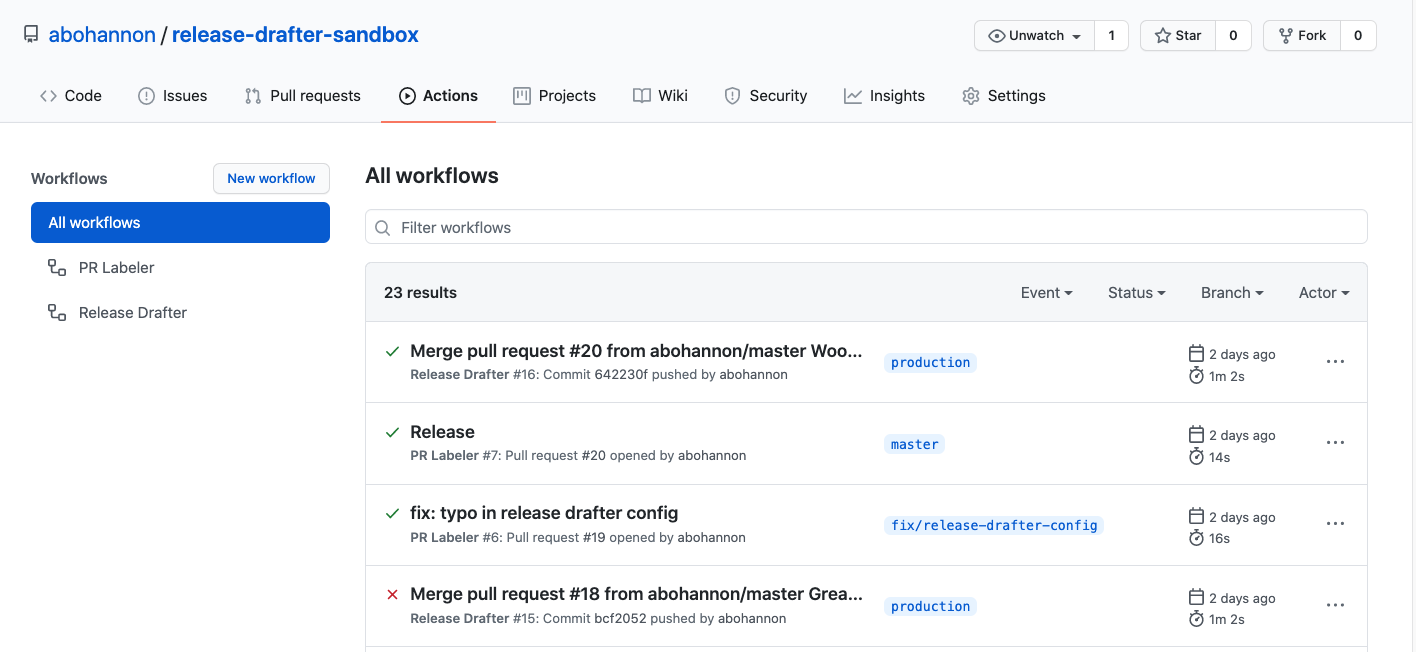
Once the action completes and (hopefully) is successful, head over to your PR view and you should see your PR with the label “feature” next to it. Congrats, you’ve successfully automated PR labeling!
I added PR Labeler to my website repo while working on this blog. Here you can see my PR was automatically labeled “blog” because my branch name is
blog/release-toolingand my yml config includesblog: blog/*.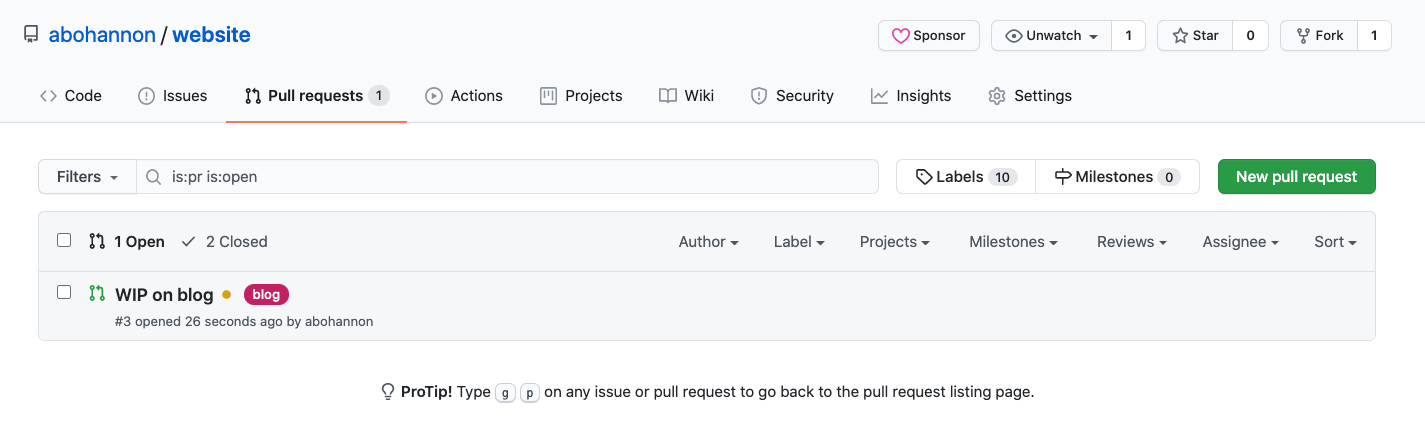
Release Drafter Setup
The Release Drafter setup is very similar to the steps we just went through.
If you followed the steps for PR Labeler above, create a branch that includes a label from your repo
In the
.github/workflowsdirectory you created, create a file nameddraft.ymland paste the followingname: Release Drafter on: push: branches: - master # your production branch jobs: update_release_draft: runs-on: ubuntu-latest steps: - uses: release-drafter/release-drafter@master env: GITHUB_TOKEN: ${{ secrets.GITHUB_TOKEN }}In the
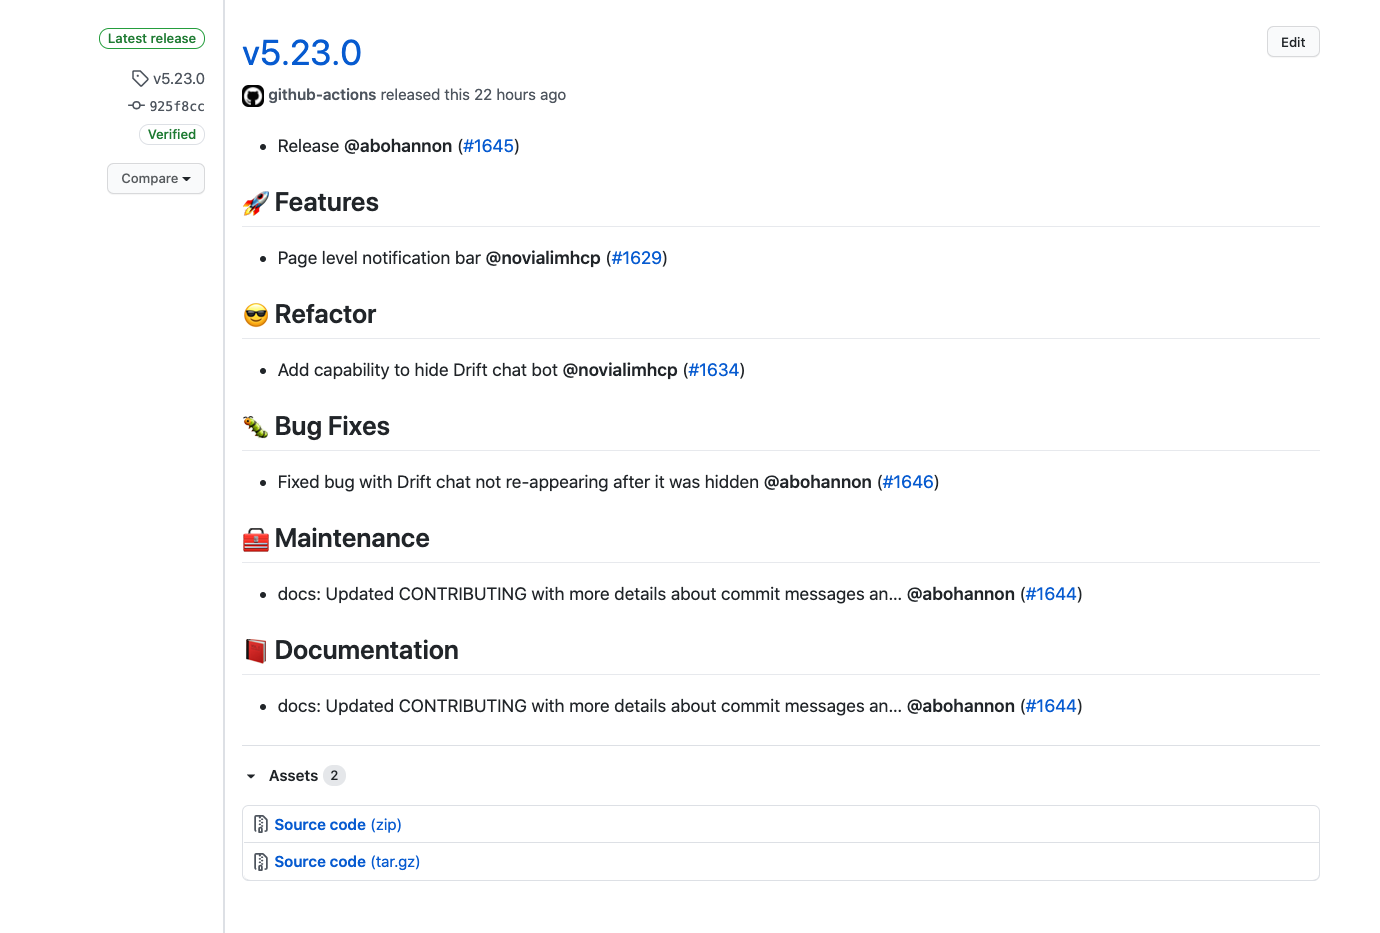
.githubroot directory, create a file namedrelease-drafter.ymland paste the following starter config. (Remember to checkout the Release Drafter repo for more configuration options.)name-template: 'v$RESOLVED_VERSION' tag-template: 'v$RESOLVED_VERSION' categories: - title: '⚠ Breaking Changes' label: 'breaking change' - title: '🚀 Features' label: 'feature' - title: '😎 Refactor' label: 'refactor' - title: '🚅 Performance' label: 'performance' - title: '🐛 Bug Fixes' label: 'bugfix' - title: '🧰 Maintenance' labels: - 'chore' - 'build' - title: '🧪 Tests' labels: - 'test' - 'testing' - 'tests' - title: '🌈 Style' label: 'style' - title: '📕 Documentation' label: 'documentation' change-template: '- $TITLE @$AUTHOR (#$NUMBER)' change-title-escapes: '<*_&' # You can add # and @ to disable mentions, and add ` to disable code blocks. version-resolver: major: labels: - 'major' - 'breaking change' minor: labels: - 'minor' - 'feature' patch: labels: - 'patch' - 'bugfix' - 'test' - 'documentation' - 'style' - 'chore' - 'build' default: patch template: | $CHANGESThis config determines what the release draft will look like. This is what we use at work and it creates a release that looks like this:
You will likely want to modify this to your repo’s needs. It should be straightforward on how to add/remove titles and labels.
The section titled
version-resolveris the config that automatically bumps your release version. You can see that only PRs labeled with “major” or “breaking change” indicate a major release for us, while “minor” and “feature” indicate a minor release, and the rest indicate a patch release. You can (and probably should) leave some labels out of this config, or create one specifically called something like “hide from changelog”, for changes that don’t amount to anything significant enough to warrant a version bump.Note the
name-templateandtag-templateproperties at the top.name-template: 'v$RESOLVED_VERSION' tag-template: 'v$RESOLVED_VERSION'This should match your current release formatting (if you’ve released before). For example, this format matches releases with titles and tags in the format of
v1.0.0. If you don’t prepend with “v”, remove it here. Or you might prepend with “Release”, then replace “v” with “Release “.Commit, push, and open a PR for this branch
PR Labeler will start working to label this PR if you installed it with the steps above. If not, manually add a label to your PR that matches one of the labels in
release-drafter.ymlabove, like “feature”.If you haven’t released before, create a manual release. If you have released before, skip to the next step.
Release Drafter’s
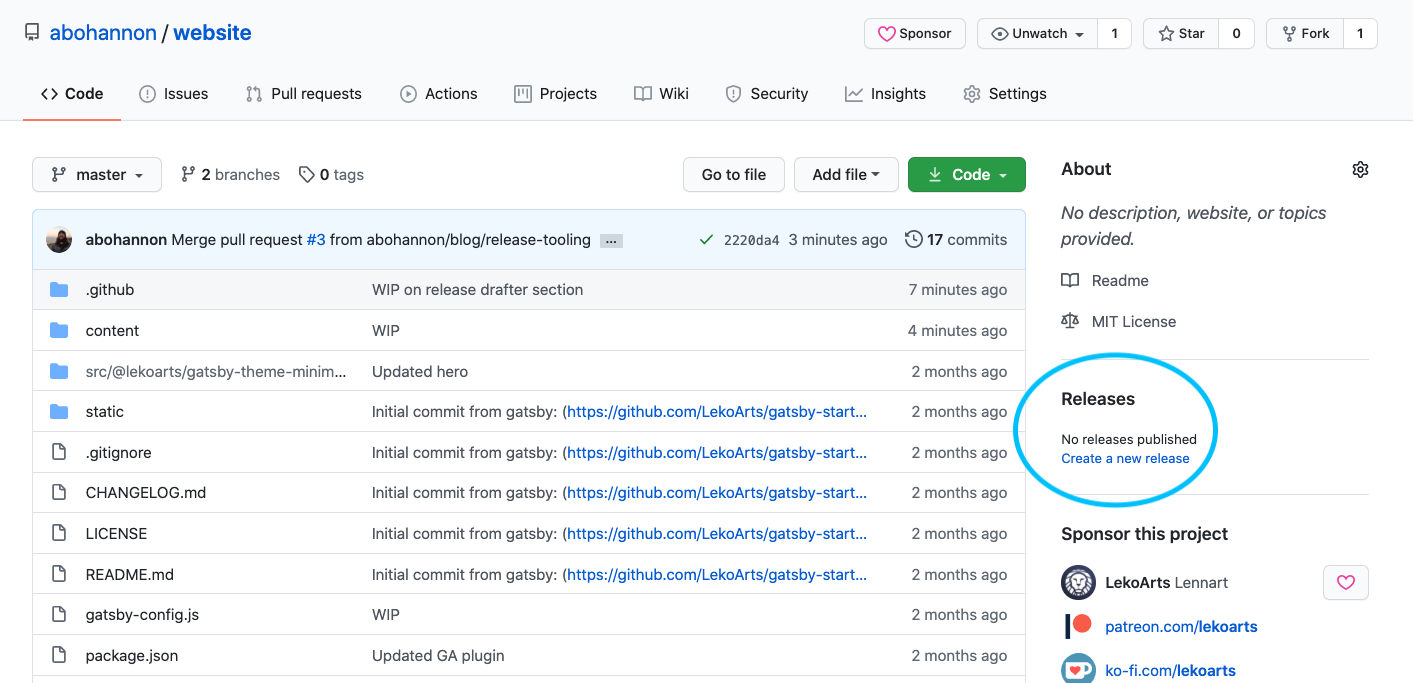
name-templateneeds to match the format of your existing releases to successfully bump your version. If you haven’t released yet, there’s nothing to match.From your repo’s main view, click “Create new release” in the right sidebar
Enter
v1.0.0in both the tag version and title and click “Publish Release”.Note: You’re not required to use this format. Whatever format you use, make sure it’s reflected in the
name-templateandtag-templateproperties in your Release Drafter template config.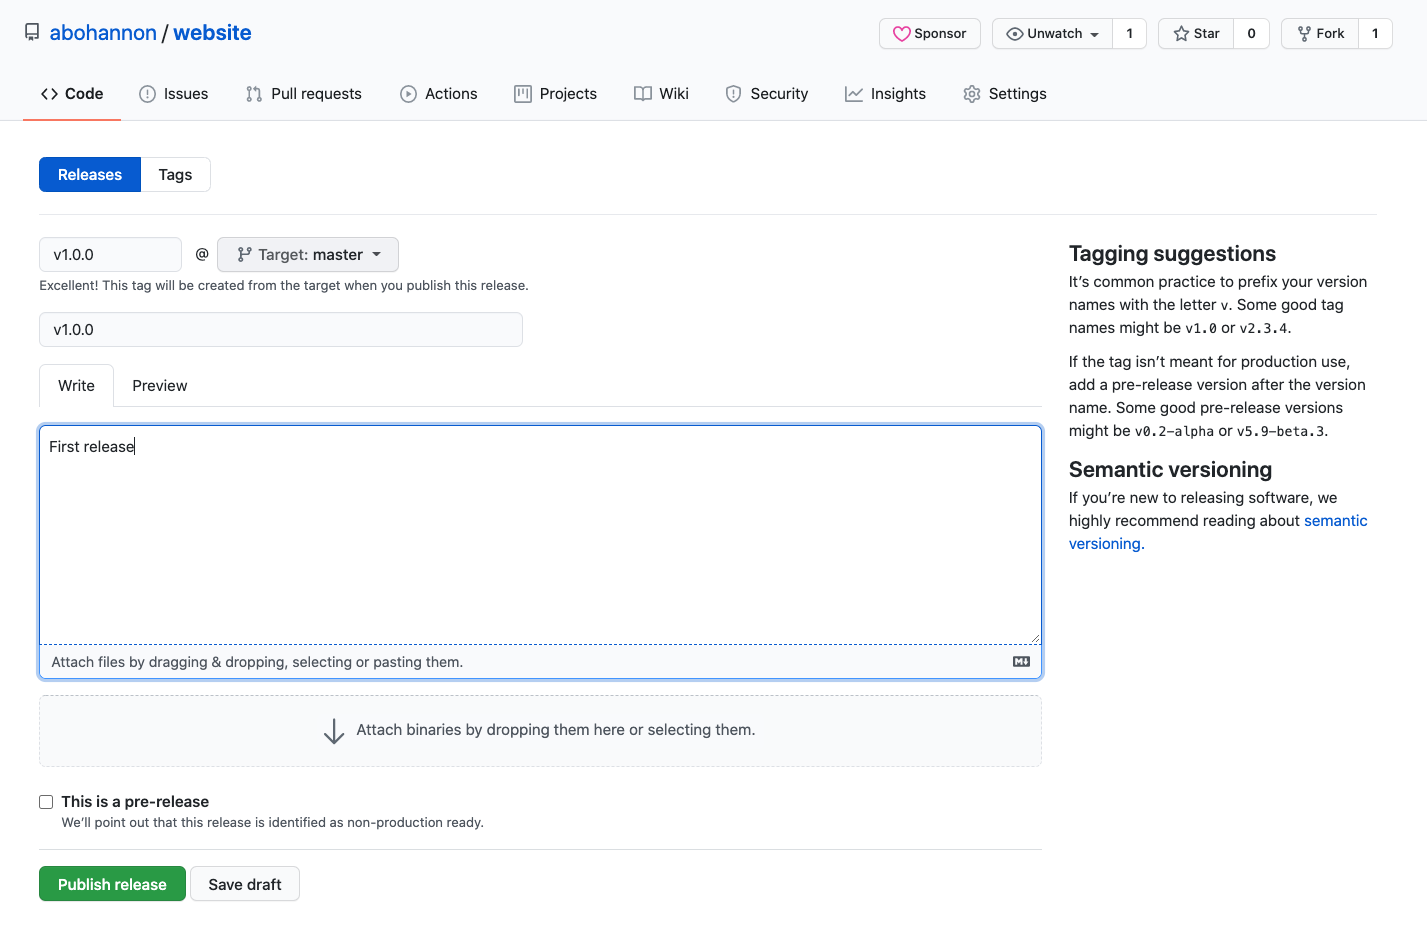
Merge your PR into
masterIf you visit the “Actions” tab, you should see Release Drafter working. Once it’s finished (takes about 1 minute for me), head back to your Releases view (
<username>/<repo name>/releasesif you’ve lost track of it) and you should see the new release draft with your PR categorized under the header that matches your PR label and a version bump that coincides with your version resolver config inrelease-drafter.yml.To publish the release, click on “Edit” next to the release, make any changes or add any comments you’d like, and click “Publish release”
And there you go. You have now automated your release workflow!